Bracing the Tension Fence
Mention ‘tension fencing’ and three of your closest neighbors will say- ‘Oh! forget it!- it’s a bear to install!’ We used to think so, too, but our innovative Flex Fence®, made exclusively by RAMM, takes that ‘bear of a job’ and turns it into something anyone can do. Even so, Flex Fence® still offers all the qualities we love; it gives on impact, it’s absolutely beautiful, and it’s virtually maintenance-free.
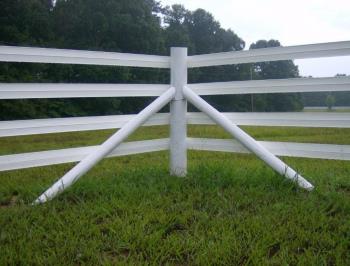
As with any tension fence system, the success of installation rides on getting the bracing right. All corner posts and posts not in a straight line should be braced and concreted. We recommend 6” (minimum) treated posts for the corners, and 4”-5” treated posts for the diagonal and brace posts. Using pressure-treated posts is important. CCA pressure treated posts are resistant against termites, fungal decay, and weather.
The minimum depth of the post holes is 36” to 48”, but will vary depending on your frost line and the quality of your soil. If you’re unsure of the frost line in your area, call your county extension office to be sure. Don’t skip this step! If you don’t sink the posts below the frost line, the first good frost will heave your posts out of place. If you’ve got unstable soil or very sandy soil your fence might require a horizontal/diagonal end brace or a larger auger. Your fence company can guide you on this.
Before you start, it’s important to lay out your fence. In the following example, a 200’ x 120’ paddock, line posts will be set about 12’ apart. That gives us three corners and one gate opening. All corners should be 90 degrees square. Be sure to use only round posts for corners and, once again, sink them at least 36”-48” (or more depending on your frost line) using a 12” auger.
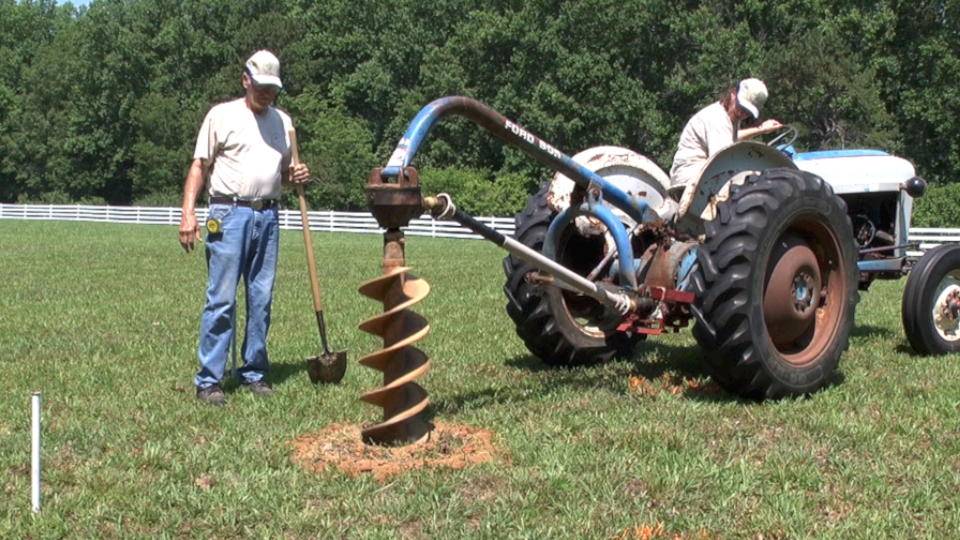
The bracing posts should measure 70” center to center from the upright end or corner posts. Auger the bracing post hole 18” deep (or below frost line) to allow for a concrete footer, but you’ll place the post just 3”-4” in the footer.
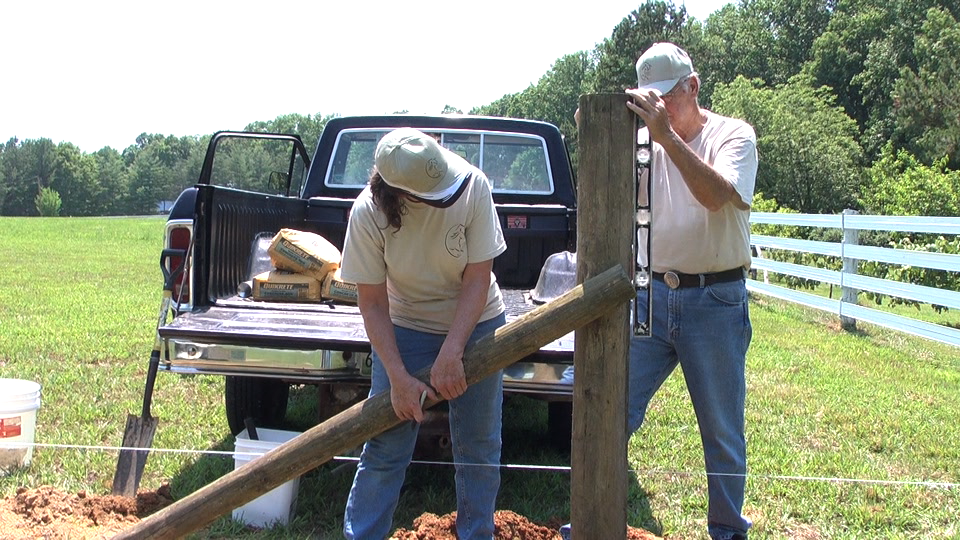
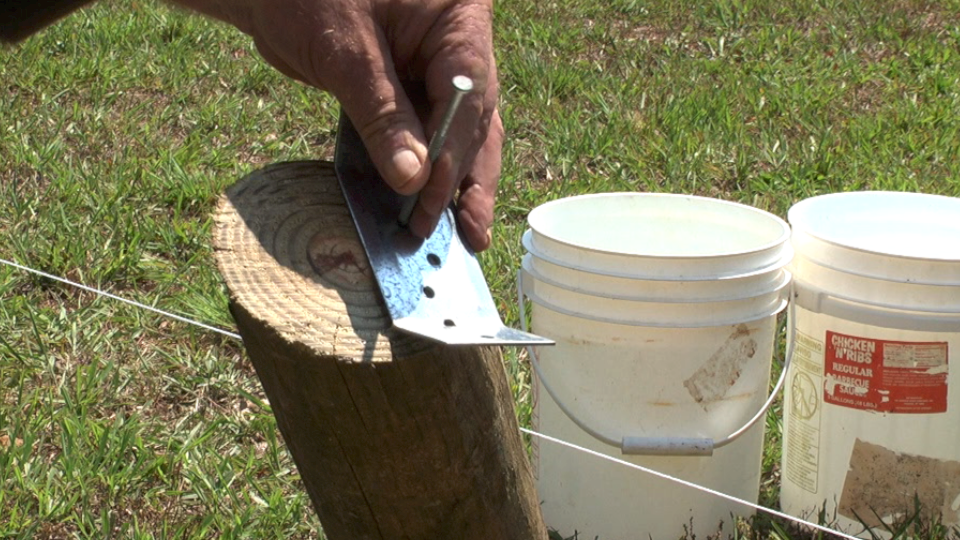
Once you’ve augured the holes, place the upright post in the ground. Measure and mark 40” from ground level on that upright post. Then place the diagonal post in its footing (about 3-4” deep) while holding it against the 40” mark on the upright post. Mark that diagonal line at the 40” mark and cut that end off with a chain saw. Now, you’re ready to attach your brace posts to your upright post with brace plates (provided by your fence company) and 3 ½” nails.
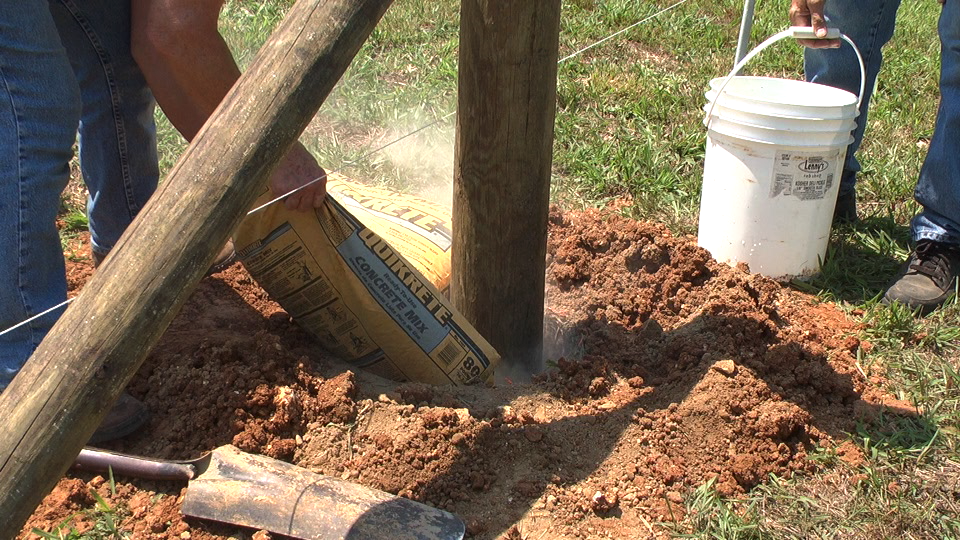
When the posts are braced and resting in the holes, fill the holes with concrete to about 4” below the top of the hole. Using a level, lean the corner post away from the tension by about 1”. The tension fence will bring this to upright later. We recommend leaving the corner posts to set in the concrete for up to 72 hours before continuing with installation.
You’ll use a string line to get your rails straight and follow the lay of your land. Take your time on this step and be sure you have your rails exactly where you want them. When you’re ready to roll out the rails, an easy to use rail tensioner helps you remove slack from the fence without putting strain on your shoulders! Once again, our manual includes detailed instructions with plenty of photos and diagrams for the visual learner!
No matter what fence you buy, ask for the installation manual ahead of time. Be sure the company you choose will help you troubleshoot should you have questions. Uneven ground, valleys, or abrupt grade changes can all be worked with. Read the instruction manual carefully and follow all instructions to the letter. We know it isn’t as much fun as reading the latest bestseller, but understanding the manual will help you install the fence correctly.
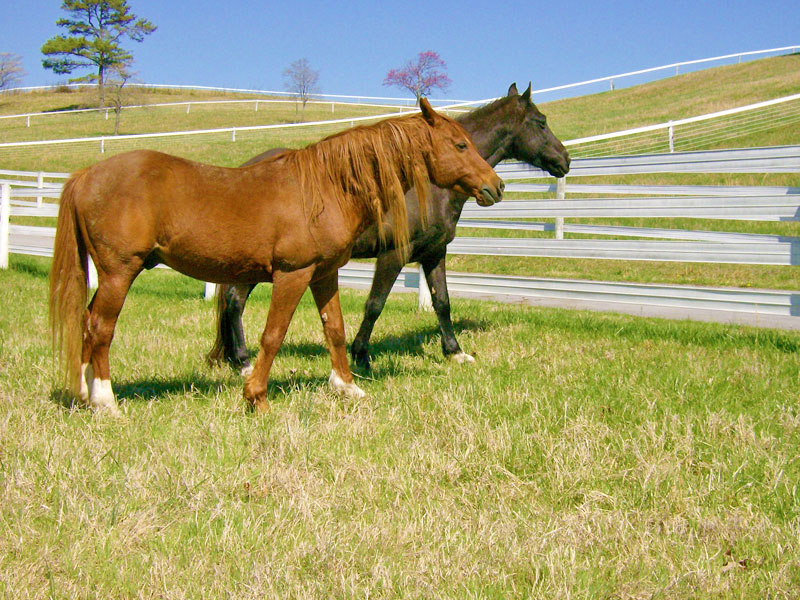
Our goal has been to provide our customers with quality and, to us, that means ease of installation, durability, and, of course, aesthetic beauty. Mike (my husband) and I have always liked the concept of tension fencing, but there were some things we didn’t like about it. Our goal was to take that good idea and make it even better. Our new Flex Fence® offers a double-coated interior wire that is far more durable than conventional galvanized wire. Plus it has UV inhibitors and anti-microbial agents that protect the fence from the elements. And it’s incredibly versatile; great for riding arenas, round pens, pastures, or even in combination with other fences as a top rail. We’re excited about it and are sure you will be too!
Debbie Disbrow and freelance writer Karen Baril (www.karenbaril.com) have teamed up to write this article. If you have any comments, questions or ideas, we welcome them. Email us debbie@rammfence.com
